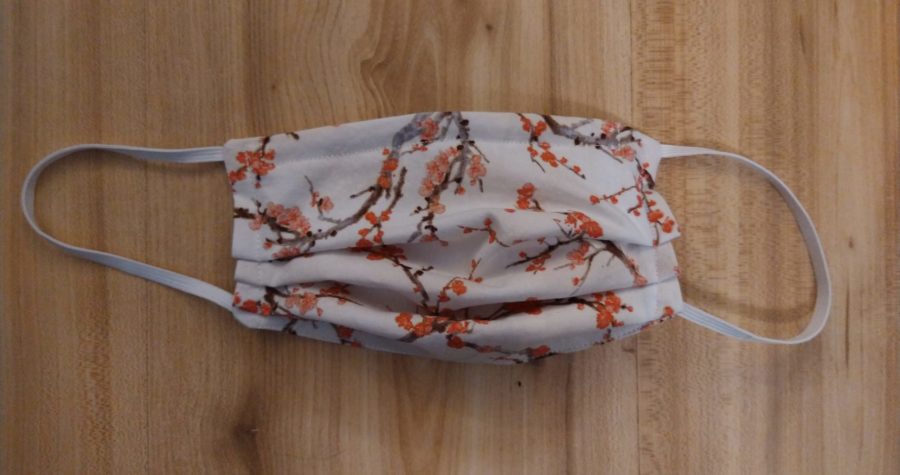
Pleated Mask with Side Pocket Tutorial
There are a lot of pleated mask tutorials out there (this one is great), but so far, I have yet to find one with a side pocket instead of a center pocket. UNTIL NOW. For this tutorial, I’ll be using the adult mask pattern (linked below).
Materials
- Mask Pattern
- 100% Cotton Fabric (an old bed sheet can work wonders)
- Pins
- Scissors
- Elastic
- Sewing Machine
- Thread
- Marker
- Clothes Iron
- Pipecleaner
Notes About Fabric
I often use a flat, 400 thread count bed sheet because it’s huge and gives me plenty of fabric to work with if I mess up. I also already had it on hand, and it wasn’t being used anyway, so it’s perfect for mask making!
The CDC recommends a high thread count. This can be difficult to find at stores because thread counts aren’t often listed—that’s been my experience anyway.
I really like Spoonflower because their fabrics are a high thread count, which are listed here. However, it’s a little pricey, and you have to wait for your material to print and ship to you. The fabric I chose was their Cotton Poplin (204 thread count), but their Petal Signature Cotton (120 thread count) and Organic Cotton Sateen (224 thread count) are great, too!
If you’re buying from Joann Fabrics, just make sure you get 100% quilters cotton.
In this tutorial, I am using fabric from Joann Fabrics and Spoonflower.
Step 1
Cut out your pattern pieces.
Lay your fabric out on a table (or floor if it’s clean) with the pattern side facing down. Make sure it’s clean and free of wrinkles. Iron out any wrinkles if necessary.
If you’re only using one type of fabric for your mask:
- Lay your pattern pieces on top of your fabric.
- Use your marker to trace around the pattern pieces onto the fabric.
- Cut them out.
- Set aside the TOP fabric piece for now.
If you’re using a different fabric for the lining and the outside of your mask:
- Lay the TOP pattern piece on the fabric that you want to show.
- Trace around the pattern piece with your marker.
- Cut it out. Set aside for now.
- Lay the LINING pattern pieces on top of the fabric you don’t want to show.
- Trace around the pattern pieces with your marker.
- Cut them out.

Lay the TOP pattern piece on the fabric that you want to show
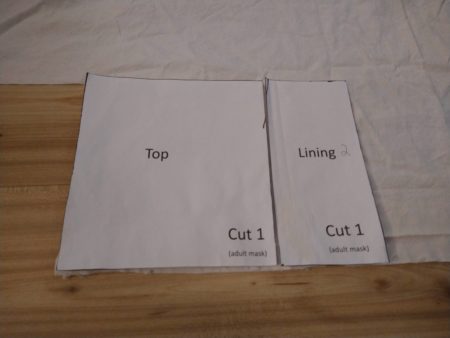
Mine says TOP in the photo, that is fine. LINING 1 and TOP are the same size.
Step 2
Place your cut fabric pieces on the table with the “wrong” side showing (the side of the fabric that doesn’t have the pattern).
- Take the LINING 1 fabric piece and fold over the long side by 1/4 inches.
- Fold one more time so you have a nice smooth edge.
- Iron in place.
- Sew it down.
- Take the LINING 2 fabric piece and fold over the long side by 1/4 inches.
- Fold one more time so this edge is smooth as well.
- Iron in place.
- Sew it down.
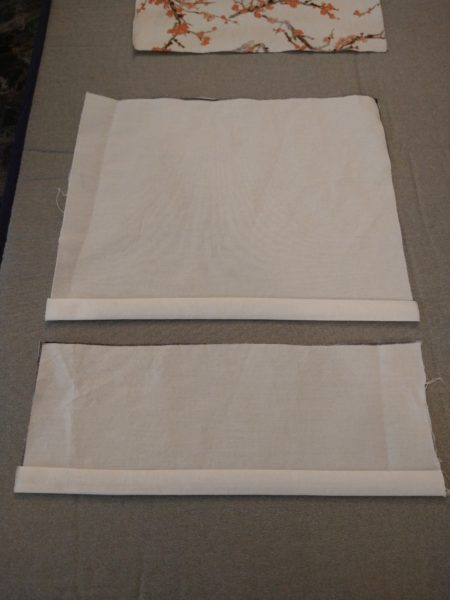
SHOWN: LINING 1 (top) and LINING 2 (bottom) with edges folded over.
Step 3
Now we’re going to sew some fabric together:
- Place your TOP 1 fabric piece on the table with the “pretty” side facing down.
- Then place your LINING 1 fabric piece on top, with the long edges lined up.
- Now place LINING 2 on top, with the right edges of LINING 2 and TOP 1 lined up.
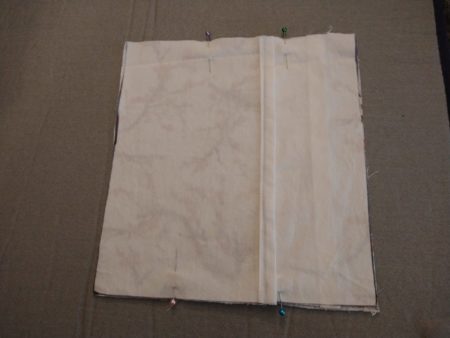
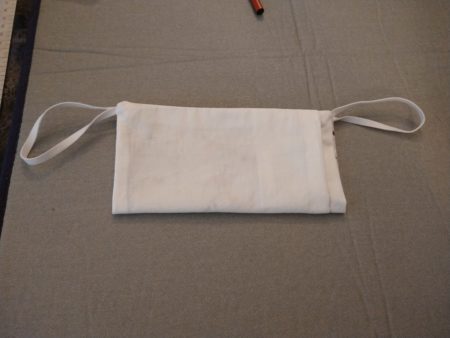
- You should have a fabric sandwich with LINING 1 in the middle (see photo).
- Place pins at the top and bottom of the fabric (the 8-inch edges) to hold the material in place (see photo).
- Sew the pinned edhes with a 5/8-inch seam allowance. Remove pins.
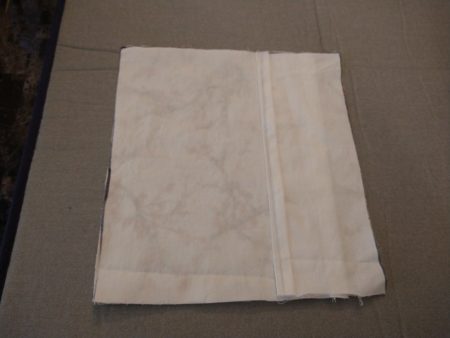
You should have a fabric sandwich with LINING 1 in the middle
Place pins at the top and bottom of the fabric (the 8-inch edges) to hold the material in place
Step 4
Next, we’ll be adding our elastic.
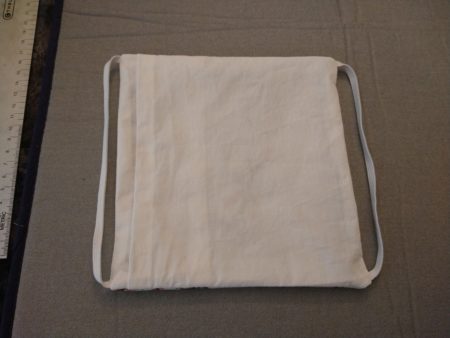
- Cut two 8- to 9-inch pieces of elastic. Sizing depends on your face and ear size. For the sake of this tutorial, let’s go with 8.5 inches (see photo).
- Next to the top seam, place your elastic inside the hole formed by TOP 1 and LINING 1 being sewn together. Make sure your elastic is INSIDE the mask, not sticking out the sides.
- Pin in place.
- Next to the bottom seam, pin the other side of your elastic in place.
- Repeat on the other side, placing the elastic between TOP 1 and LINING 2 and pin in place.
- Sew along the left and right sides with a 1/4-inch seam allowance, backstitching over the elastic to secure it.
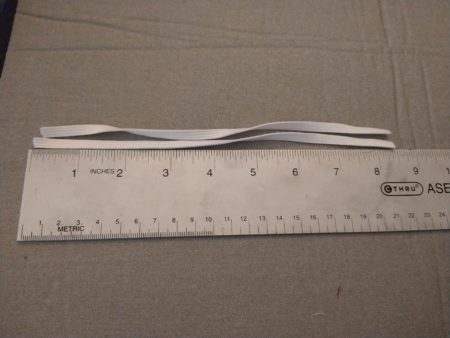
Cut two 8- to 9-inch pieces of elastic. Sizing depends on your face and ear size.
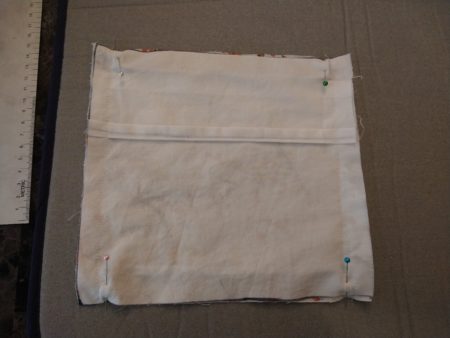
Pin the eleastic inside the holes formed by TOP 1 and LINING 1 being sewn together.
Step 5
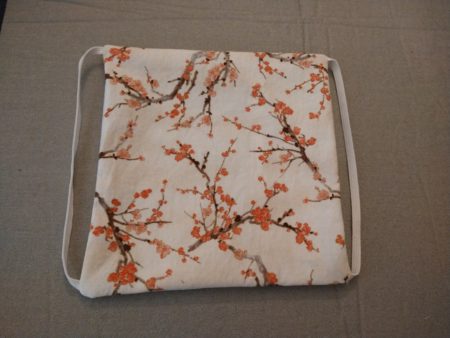
Turn your mask right-side out. Iron the fabric, but don’t iron the elastic.
Step 6
On one of the 8-inch sides of the mask, place your pipe cleaner so that it is flush with the edge. Sew in place.

Step 7
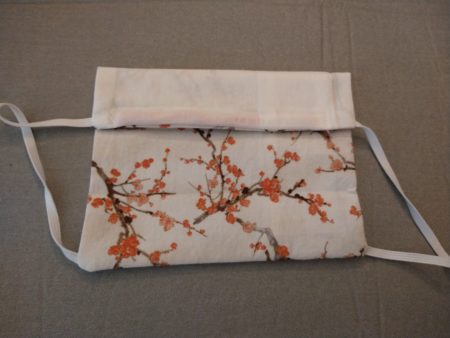
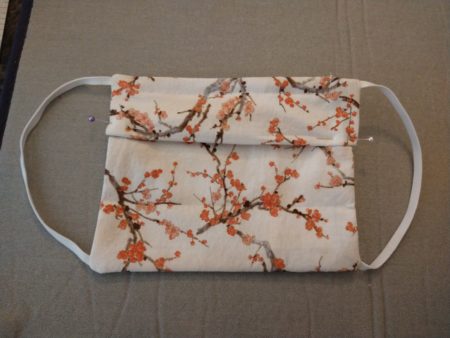
Pleating time! For this step, think of the edge of your mask with the pipe cleaner as the top. Your pattern should be facing up in this step.
Fold the mask in half, bringing the bottom up to the top, so that the underside shows. Iron. Unfold.
Now fold the bottom up to meet the halfway point you just folded. Iron. Unfold.
Fold the top down to the same halfway point. Iron. Unfold.
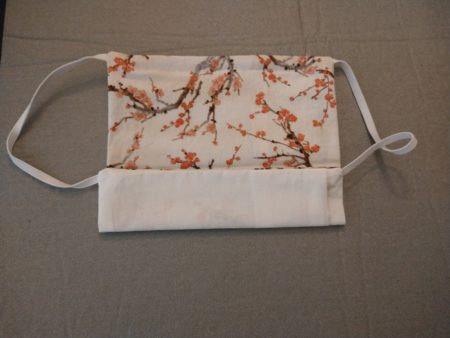
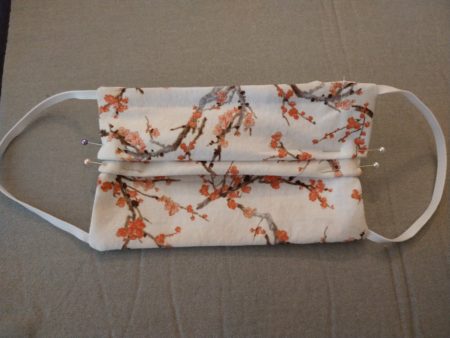
You should have three iron marks across your mask now. Take the highest iron mark and bring it down to just below the middle mark, but keep the pattern facing up. Put pins in the sides to keep the fold in place.
Repeat this with the next two folds
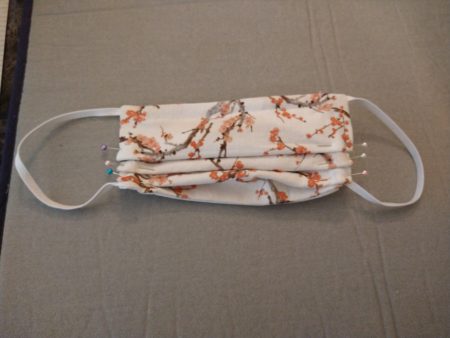
Sew along the sides where you just pinned. Sew it twice. Take your pins out.
Mask is complete! Wear it with pride!