Studio 300 at Fountaindale Library offers a wide range of multimedia and maker software and devices to create anything you can imagine. Recently, I became very immersed in model building, painting and creating diorama displays. So, I decided to challenge myself to create a diorama using Studio 300’s 3D printers. Since I had started this project around Halloween, I decided to make it a spooky-themed diorama. But you can use our tools and machines to make your very own diorama for any theme!
Part One: Printing
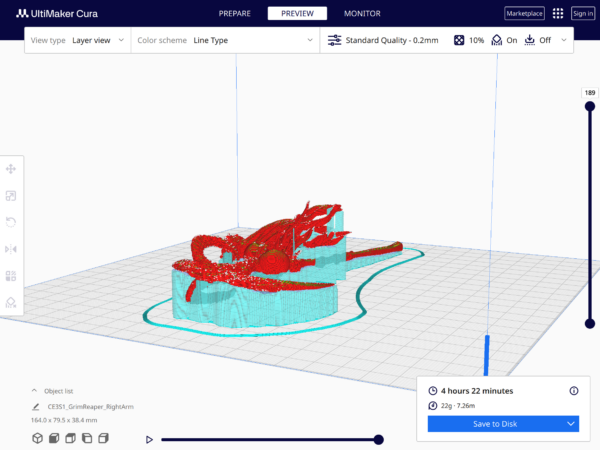
I purchased a 3D model file for a Grim Reaper and used Ultimaker Cura to slice it for printing. This was a challenge as the file was tailored to work best with resin printers, and our printers use PLA filament. This meant the details of the model would be rougher, so I made some adjustments to the layer height and supports to preserve as many of the details as possible.
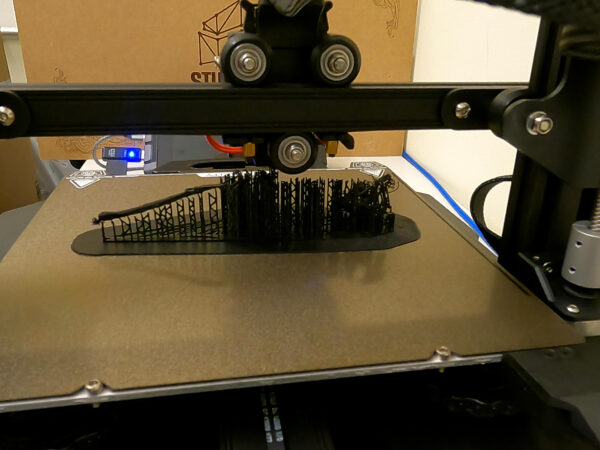
This was a six-part print that took approximately 134 hours (roughly 5 and a half days) to print. There were some issues printing the left arm that holds a scythe, so after three failures, I opted to use the best pieces to Frankenstein together a finished arm and scythe.
Part Two: Sanding
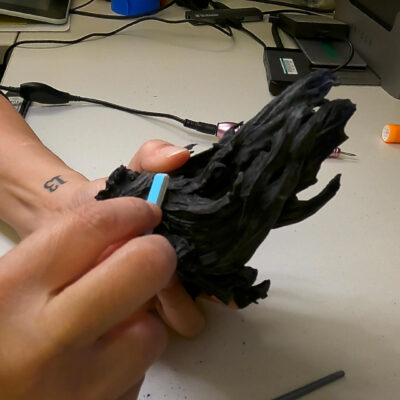
Once printed, the model pieces needed some work to smooth out rough edges. I spent a few hours sanding the edges with a nail drill and 180, 240 and 320-grit sanding twigs. The nail drill allowed me to quickly file down very rough areas, and I then went over these areas with increasingly higher-grit sanding twigs. The sanding twigs, being long and narrow, are very useful with a model as complex as this.
Part Three: Assembly
The majority of the model was assembled using plastic glue, which cures fairly quickly. The left arm, which was in a variety of pieces, was challenging. After trying UV resin and hot glue, it was clear that neither would work. In the end, epoxy glue was what finally worked to bond the pieces together strong enough that moving the model around didn’t cause the pieces to fall apart. I let the model cure overnight and then we were ready for painting.
Part Four: Painting
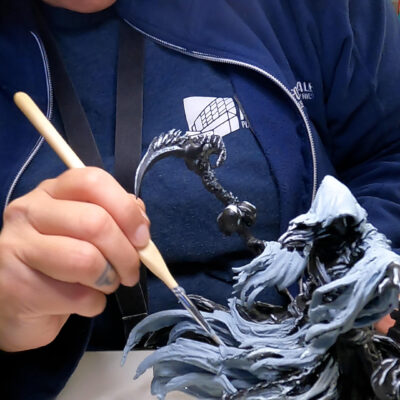
This was the part of the project that I was most excited about. I started by priming all the models with Citadel Chaos black spray primer. It’s a great primer that allows your 3D plastics to easily take on paint. Without a primer layer, your paints may not hold on to the plastic and take much longer to dry.
I also opted for using model paints instead of regular acrylic paint. I found that model paint is thinner and allowed me to build up layers of color. The painting process was very fun and challenging, as this model has so much detail that I kept having to go back and check areas to make sure I didn’t miss any of those details. I would recommend getting a nice set of fine-tipped brushes, brush soap and a wet palette to keep your paint fluid while working.
For reference, I used all Citadel brand paints in colors: Corax White, Abadon Black, Wraithbone, Pallid Wych Flesh, Celestra Grey, Sycorax Bronze, Brass Scorpion, Moot Green, Soulblight Grey, Warp Lightning and Nuln Oil.

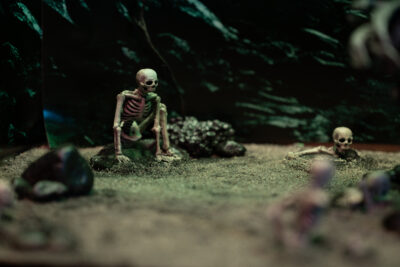
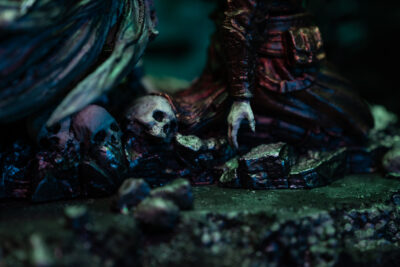
Final Thoughts + Your Turn!
A challenge is sometimes exactly what I need to get out of my comfort zone. This project allowed me to work with the 3D Crealty Ender S3, Ultimaker Cura software, Glowforge (cutting base), Nikon Z30, Venus Optics Laowa 100mm, Nanlite Pavotube Lights and Premiere Pro CC—all of which are available for patrons in Studio 300!
Check out a timelapse of this project below and stop in to see this diorama on display in Studio 300. You can get started using our machines and equipment by taking our Studio 300 Virtual Orientation. Then, you can take the required maker machine courses. Just fill out our Maker Machine Training form and select which machines you want to learn to use.
