Studio Spotlight: Glowforge Pumpkin
 The “ber” months are upon us, which means all the cozy things like cooler days, comfy hoodies and creating memories. To help you make that special and welcoming fall space, look to Studio 300’s Glowforge machine! The Glowforge is a laser cutter that can cut through various thicknesses of wood and acrylic, allowing for the creation of fantastic collectibles, such as personalized gifts, puzzles and home decor.
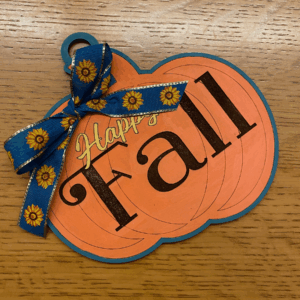
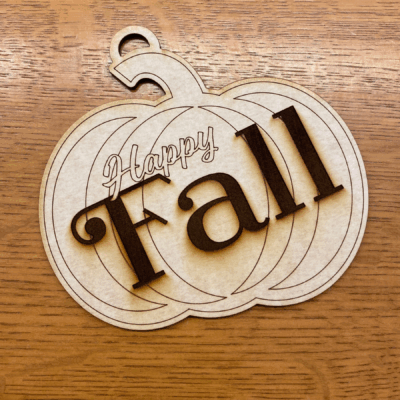
For example, I made this sweet pumpkin that can be decorated and hung around your house, adorn your mantle or bring autumn cheer to your office!
Before You Start
Before you can create your own special pumpkin, there are a few things you need to do.
1: Studio 300 Orientation
If you haven’t already, be sure to request and then submit the Studio’s general orientation using your Fountaindale library card.
2: Maker Orientation
Once the general orientation is completed, request the Glowforge maker training.
3: Plan Your Trip
After both orientations are complete, please stop in the Studio and request to use the Glowforge machine. You can reserve the Glowforge in advanced for up to 4 hours by calling the Studio at 630.685.4260.
Printing Your Pattern
When you go to the library, remember to bring your library card. You’ll check in with staff at the desk with your card and let us know you want to use the Glowforge. We’ll set you up at a computer and load the Glowforge software for you. Now it’s time for you to get crafting!
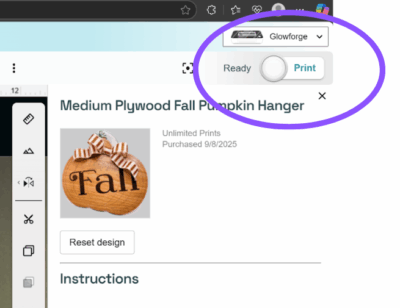
1: Find Your Pattern
From the design page, search for “fall pumpkin hanger” as shown here. The design we’re printing today is “Medium Plywood Fall Pumpkin Hanger.”

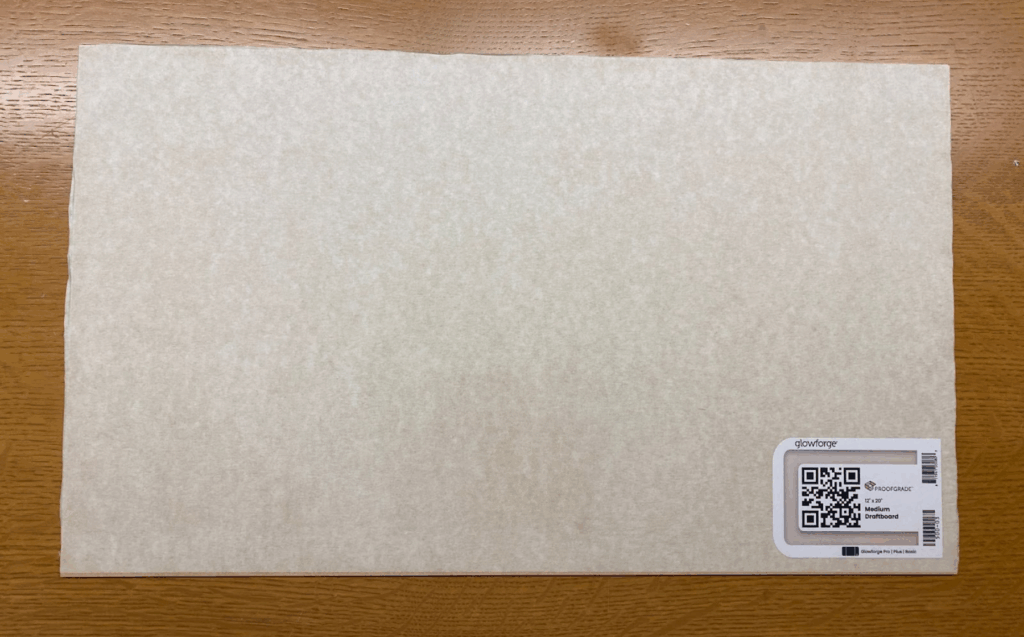
2: Grab Your Material
Next, get a piece of our medium draft board and place it into the Glowforge. Each 12-by-20-inch sheet costs $9 and is located in a shelving unit adjacent to the Glowforge. The design measures approximately 5-by-5 inches, and we were easily able to fit six little pumpkins per board.
3. Power on the Glowforge
Locate the power switch on the back, right side of the machine, and turn it on. Then turn on the air purifier and exhaust equipment.
4. Print Your Design
Once the draft board is loaded and the power is on, the Glowforge software and machine will detect the design and begin to center it automatically. Once you’re satisfied with the placement, click Print and off you go!
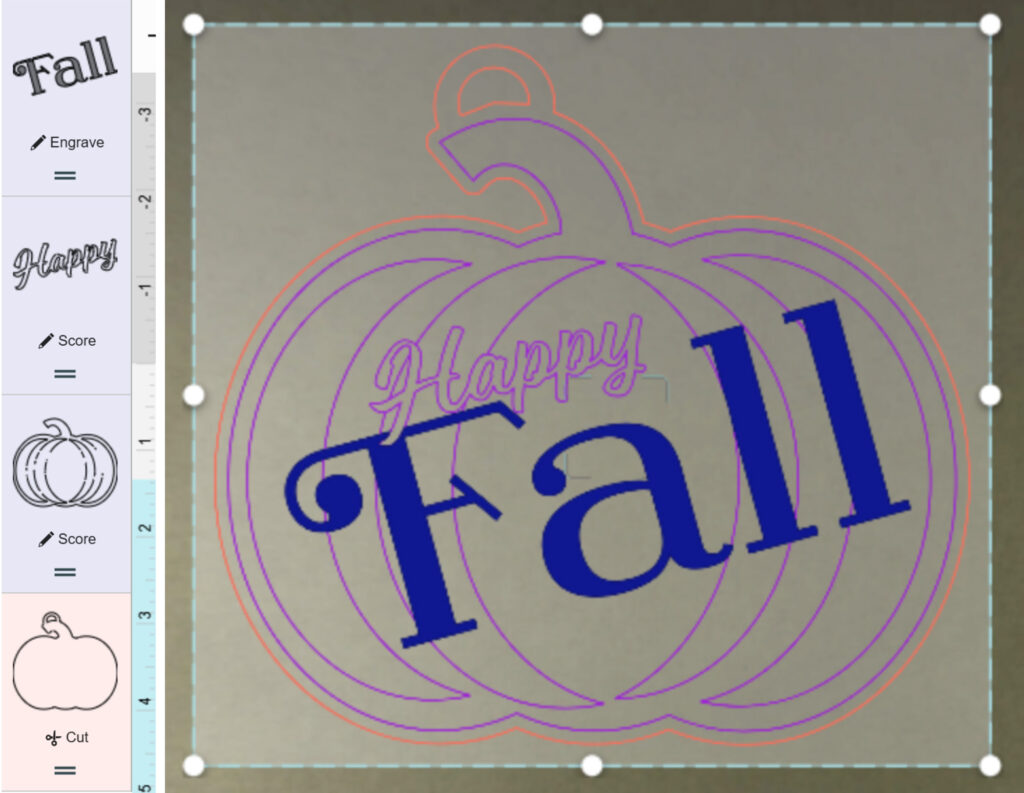
Fun fact: This design features all three cutting styles the Glowforge offers: engrave, score and cut!
Time to Decorate
Here is the adorable finished design next to my fully decorated version. I used acrylic paint pens to decorate my little pumpkin, but you can use markers, sharpies, colored pencils and gel pens.

These little pumpkins would make a fun distraction for little ones to decorate while they wait during holiday meal preparation. They can use their own personalization to create a darling keepsake for themselves or family members!
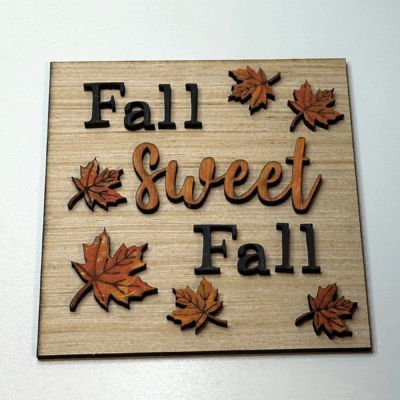
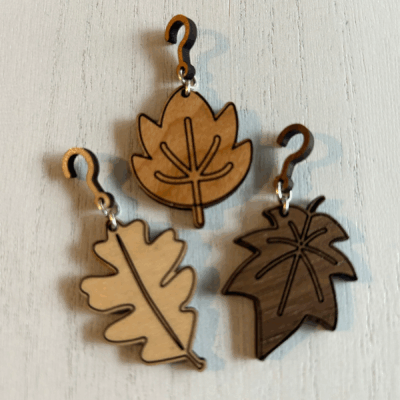
If you’re looking for other easy fall-inspired ideas, here are a couple more ideas from the Glowforge software.
I hope you enjoyed this tutorial. We look forward to seeing you in the Studio!